STK Enterprise
You can obtain the necessary licenses for this tutorial by contacting AGI Support at support@agi.com or 1-800-924-7244.
All Ansys Test and Evaluation Tool Kit (TETK)™ capability resources needed for the training can be found in the install directory at C:\Program Files\AGI\STK_ODTK 13\Help\STK\TeTraining\Training files.
Capabilities covered
- Test and Evaluation Tool Kit (TETK)
- STK Pro
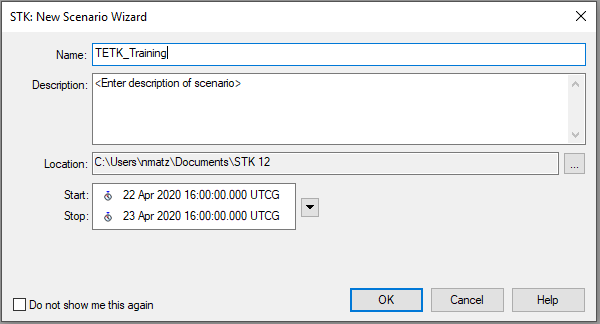
Creating an STK scenario
- Launch the Ansys Systems Tool Kit® (STK®) digital mission engineering software application (
 ).
). - Click the Create a Scenario (
 ) button.
 - Name the Scenario TETK_Training.
- Click .
- Close the Insert STK Objects tool when it appears.
- Save your scenario (
 ). The scenario automatically saves into a folder of the same name.
Leave the Start and Stop times as the default values.
Importing default data mappings
- Click the Data Mappings button on the Test and Evaluation Tool Kit toolbar.

- If this is the first time you are using the TETK capability, a warning will display that says "No TSPI Mappings Defined." Click .
- Click Import Mappings (
 ). Browse to the TETK training folder (see the first Note: for exact location) and open the TeDataMappingTable.tedm file.
 - When the second Data Mapping Viewer window appears, expand each category (
 ) to view the parameters that are being added. Click to select all options in the list, then click to import everything into the Data Mapping Viewer.
 - Close the Data Mapping Viewer.
If you do not see the toolbar, go to View > Toolbars > Test and Evaluation Tool Kit.
You only need to add these data mappings once, and you will be able to use them in all subsequent TETK scenarios. You can add as many data mappings as you like, and all will be available in other scenarios.