STK Java API - Configuring Eclipse Projects
The following instructions explain how to configure an Eclipse
Integrated Development Environment (IDE) project to use the STK
Java API provided with the STK /STK Engine install.
Topics
Get/Install
Eclipse
- Download the latest Eclipse IDE for Java
Developers from http://www.eclipse.org.
- Extract the Eclipse IDE to your preferred install
location.
- Start up the Eclipse IDE.
- When asked to select a Workspace, select your favorite
filesystem development location.
- Click the OK button.
Create a new
Eclipse Java Application project
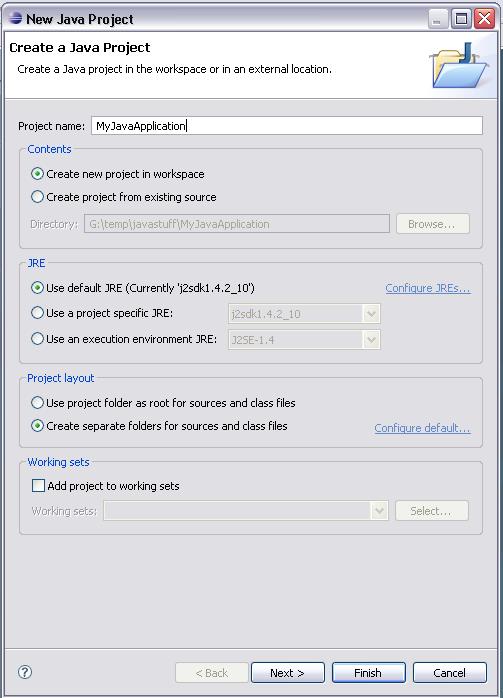
- From the File menu, select New, then
Java Project.
- Type any name you like for your Java project.
- Click the Finish button.
- Close the Eclipse Welcome tab screen if it is displayed.
Configure
an Eclipse project to use the STK Java API
- Right-click on the project in the Eclipse Package Explorer and
select Properties from the context menu.
- In the project properties window tree, choose Java
Build Path.
- Right-click on the project and choose Properties.
- In the Properties dialog box, click on the Java Build
Path tree item.
- On the right hand side of the Properties dialog box,
select the Libraries tab.
- Left-click the Add External JARs... button.
- In the dialog, browse to your /bin.
- Select the jar file you want to add to the project and click
the OK button.
-
Note: It is recommended that you
add all of the jar files to the project when developing. Before
deploying you can remove any unused jar files from your
application.
- Follow the steps provided in Configure the use of
Javadoc library documentation.
STK Programming Interface 11.0.1