Use InstallShield to Create an Installation
Package
The following examples use InstallShield 2009 --
Professional Edition to create an installation package for STK
Engine applications. Instructions for including the STK Engine
Merge Modules is also included. STK Engine Merge Modules will need
to be included in the install if the application will be deployed
on a machine where STK is NOT installed.
Note: The following instructions and illustrations
use InstallShield 2009 -- Professional Edition. However, the
instructions have also been tested on earlier and later
versions.
To create an STK Engine application installation package, you
must first install STK Engine then follow the steps below.
- Open InstallShield.
- Create a new InstallShield project by selecting New
Project from the File menu.
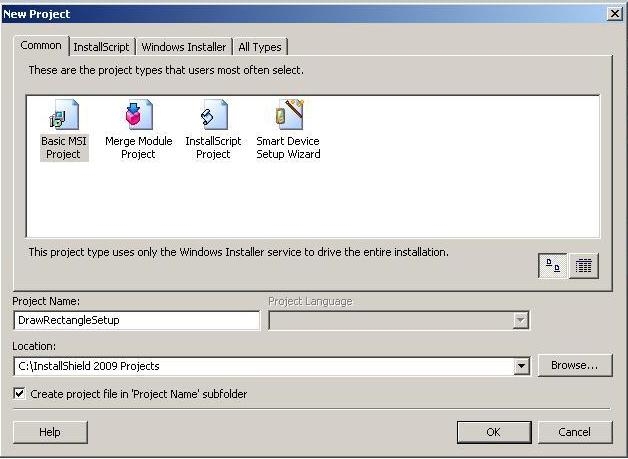
- In the New Project dialog (Windows
Installer tab), select Basic MSI Project,
select a name for the project, and click OK.
-
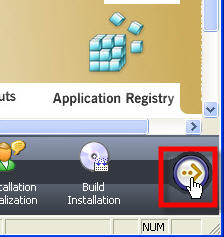
- When the Project Assistant screen appears, click the arrow at
the bottom right.
-
- Enter basic project information on the Application
Information screen, and click the bottom right arrow to
proceed to the next screen.
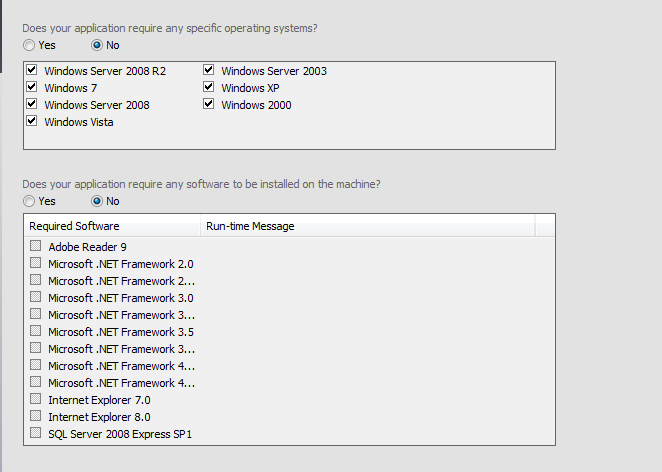
- On the Installation Requirements screen,
select the supported operating systems and any required software.
The list may change depending on what is available for your
operating system and system requirements.
-
- Proceed to the Installation Architecture
screen (where you can customize the installation architecture if
desired) and from there to the Application Files
screen. Click the Add Files button, navigate to the application
that your installation package is to install, and load it.
-
Note: When you select the application, a dialog
will display, offering to scan for dependencies. You can accept the
offer or skip the scan.
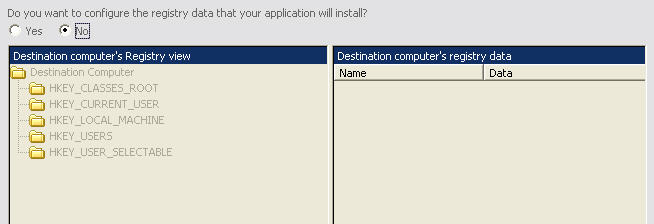
The folders in the Destination Computer file tree represent how
your installed application will look on the user's machine.

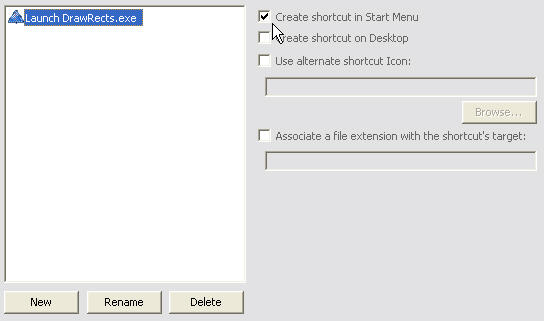
- Proceed to the Application Shortcuts screen,
where you can select various shortcut options:
-
- Proceed to the Application Registry screen
and, after consulting with your product development team, make any
necessary changes to the registry.
-
- Proceed to the Installation Interview screen,
which lets you select options for the dialogs that the user will
see during installation:
-

- If STK is installed on your machine or if your project does NOT
require the STK Engine Merge Modules, skip to step 17.
- If your install contains STK Engine Merge Modules, click the
Installation Designer tab:
-
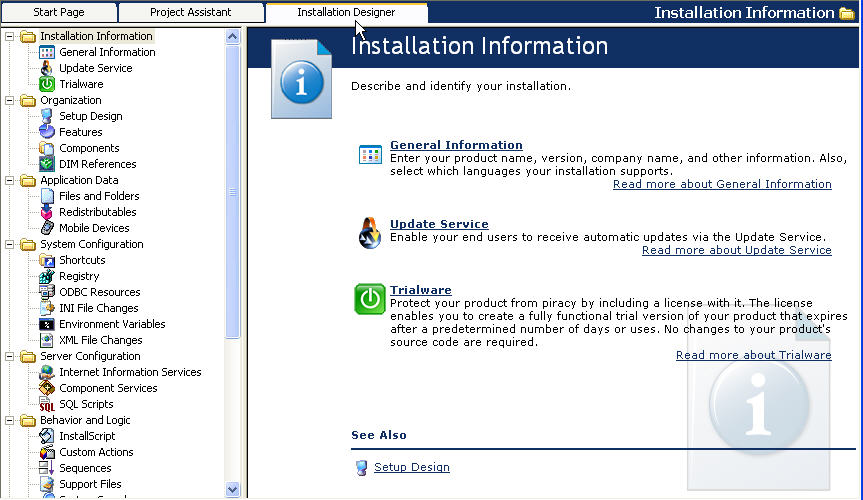
- In the tree on the left side of the screen, select
Redistributables from the Application
Data folder. From the Object types to
display list, select Merge Module.
-
If there is a Search Grid available, you can use it to filter
for the items required, as shown below.
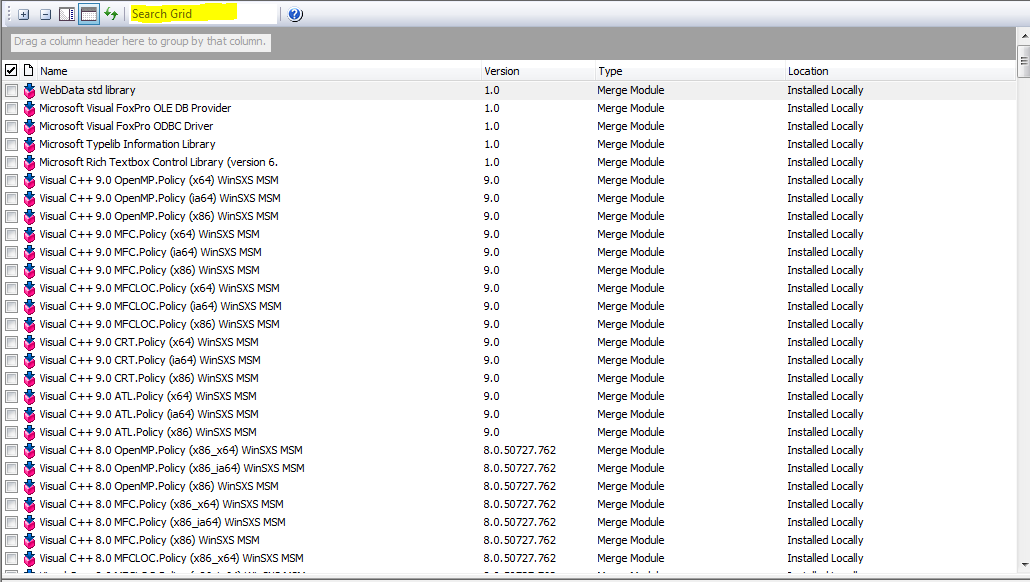
- Select the STK Engine Merge Modules from the list as below.
- AGI Merge Module for STK Engine Binaries 11
- AGI Merge Module for STK Engine CommonData 11
- From the Object types to display list, select
InstallShield Prerequisite
- Select the following prerequisites
- Microsoft Visual Studio 2008 Redist
- Microsoft .NET Framework 3.5 SP1 (Either the Web download or
full package, depending on your application.)
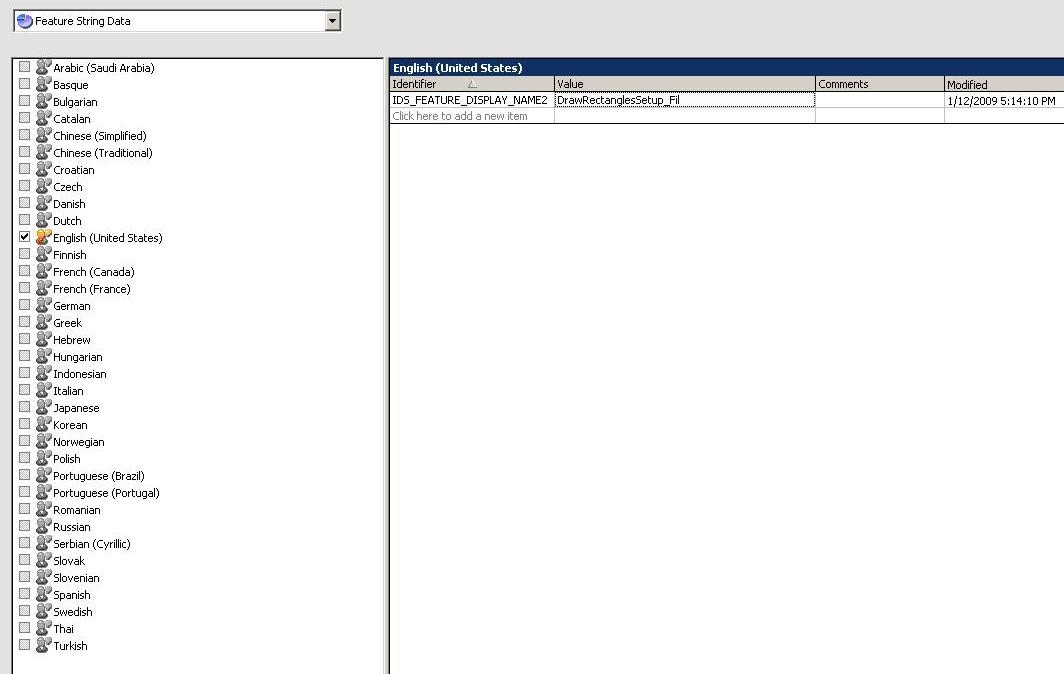
- Proceed to the Localizable String Translation
screen.
-
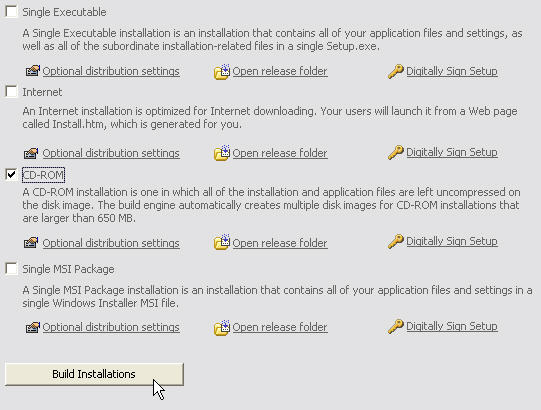
- Select the Project Assistant tab and click the
lower right button until you reach the Build
Installation screen. Select the desired media and click
the Build Installations button.
-
The installation package is saved in the location that you
specified, and any build errors will appear in the error log. You
can access the log file through the link in the build process
output text.
Related Topics:
STK Programming Interface 11.0.1