Use Visual Studio to Create an Installation
Package
The following examples use Visual Studio 2010
to create an installation package for STK Engine applications.
Instructions for including the STK Engine Merge Modules is also
included. STK Engine Merge Modules will need to be included in the
install if the application will be deployed on a computer where STK
is NOT installed.
Note: If STK is not installed on the target
computer, .Net Framework 3.5 SP1 and Microsoft Visual C++ 2008
Redistributable must be installed before the STK Engine application
can be deployed on that computer.
To create an STK Engine application installation package:
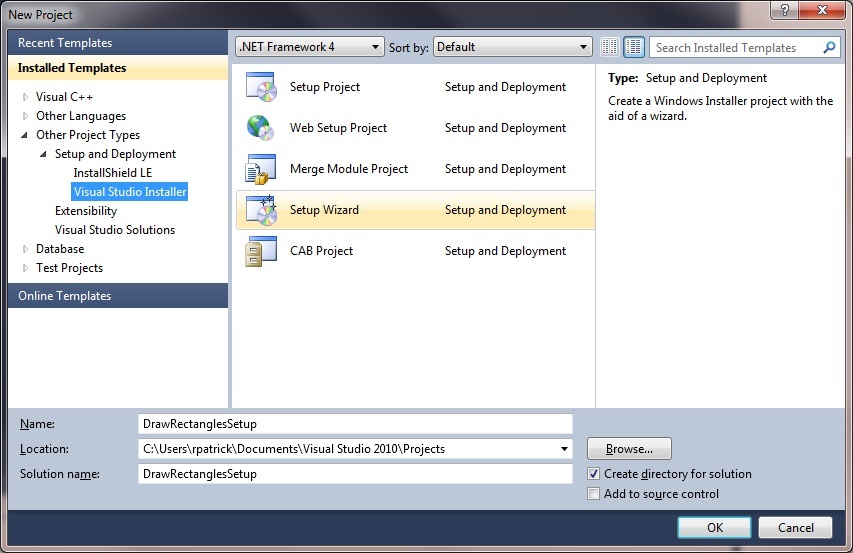
- Open Visual Studio and create a new project.
- In the New Project dialog, select Setup and Deployment
(under Other Project Types).
- Under Setup and Deployment, select Setup Wizard
template.
- Enter a name and location for the project, and click
OK.
-
- When the Setup Wizard appears, click Next to
proceed to screen 2:
-
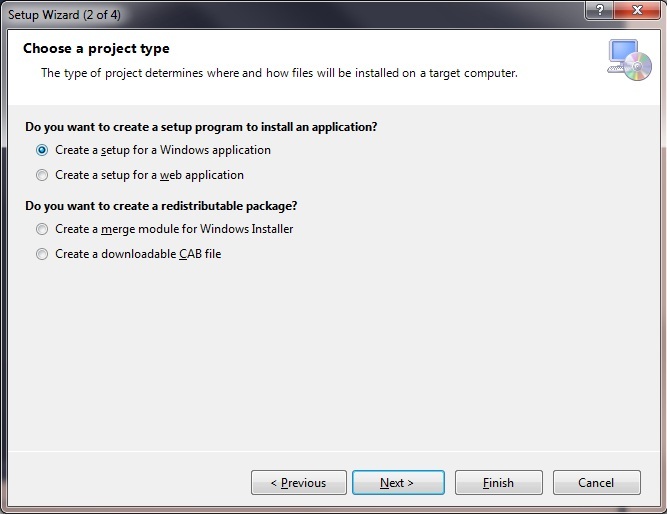
- On the Setup Wizard Welcome dialog, click
Next.
- Select the Create a setup for a Windows
application option, and click Next.
- Screen 3 allows you to specify any additional files that you
want to include in the install, and screen 4 summarizes your
installation package thus far. If you are satisfied with the
package, click Finish.
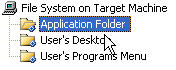
- Select the Application Folder on the left side
of the File System window:
-
- Right-click on the empty pane on the right side of the window,
and select Add, and then File...
from the context menu:
-

- Browse to the application that your installation package is to
install, and load it.
- The application and files with which it has dependencies will
appear in the right pane of the File System window
and in the Solution Explorer. These may include
any or all of the following:
-
AgSTKObjects.dll
AgSTKUtil.dll
STKX.dll
- If STK is installed on your computer or if your project does
NOT require the STK Engine Merge Modules, skip to step 15.
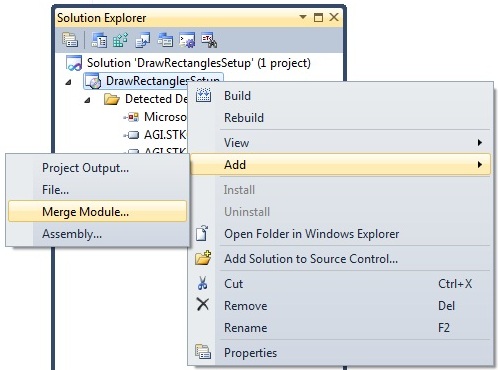
- If your install contains STK Engine Merge Modules, right click
on the setup project in the Solution Explorer, and
select Add, and then Merge
Module... from the context menu:
-
Note: Both Visual Studio and InstallShield will
automatically locate the directory containing the merge modules. If
you are using another development tool that does not do this, you
can usually find the merge modules at C:\Program Files\Common Files\Merge Modules\
Note: If you choose to use another method for
creating your install package, keep in mind that you can use the
STK Engine Microsoft Software Installer
(MSI) to install the AGI Merge Modules. This installer has
already been created and is available as part of STK Engine.
- Browse for (if necessary) and add the AGI Merge Modules. They
will be added along with any associated merge modules.
-

Note: If you are installing an application that
uses STK Engine x64 then select the STK_Engine_Binaries_11_x64.msm
and STK_Engine_CommonData_11_x64.msm instead.
- If you are creating an installation package for a 64-bit STK
Engine application, change the TargetPlatform setting from x86 (the
default) to x64 in the Project Properties. Otherwise, the project
will not build successfully.
- Right-click on the project in the Solution
Explorer, and select Build to build the
install.
- When the build is finished, test your installation package.
Right-click on the project again, and select
Install to install the application.
- When the Setup Wizard appears, click Next to
proceed to the 2nd screen.
-
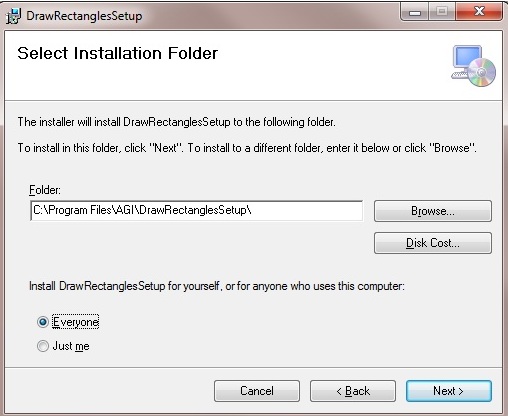
- Note the location of the installation folder (and change it, if
you wish), and click Next.
- Continue through the install process with the wizard, and click
Close to dismiss it when you reach the final
screen.
- Find your application and run it.
Related Topics:
STK Programming Interface 11.0.1