Favorite Features: The Marker Batch Primitive |
While under development, the Insight3D development team wrote a series of blog posts, which are now archived here to provide in-depth technical information about some of the underlying techniques and design decisions. These posts reflect the work-in-progress state of the product at the time.
The following blog post was originally published on the Insight3D blog on July 2, 2009 by Patrick Cozzi.
This is the first of a series of articles about our favorite features in Insight3D written by developers on the Insight3D team, the AGI Components team, and other AGI developers that we've deemed as world experts in Insight3D.
I like lots of Insight3D features, but I've decided to write about the marker batch primitive because 1) I developed it and am therefore biased, and 2) it does lots of fancy things under the hood for performance.
Loosely speaking, markers are 2D images that always face the viewer, like these arrows:
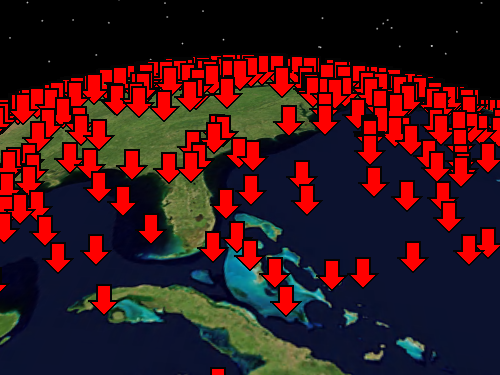
Yes, I drew the arrow icon myself in Visual Studio, and no, I've never thought of a career in art. Markers are sometimes called Sprites or Billboards. They have an incredible number of uses: representing points of interest, visualizing a ton of realtime data, replacing 3D models to improve performance, and for rendering image-based effects such as clouds, smoke, fire, and vapor trails. Of course, we are looking for an excuse to code up some of these effects, so please leave a comment if you are interested.
Rendering individual markers is horribly inefficient due to per-marker CPU overhead, so Insight3D provides a batch primitive. The batch primitive represents multiple markers using a single primitive. Basically, you give it a collection of positions, and it renders a marker at each position. For example, the following code snippet was used to create the above image:
int numberOfMarkers = 10000;
IList<Cartographic> positions = new List<Cartographic>(numberOfMarkers);
Random r = new Random();

for (int i = 0; i < numberOfMarkers; ++i)
{
    positions.Add(new Cartographic(
        -Math.PI + (r.NextDouble() * Constants.TwoPi),
        -Constants.HalfPi + (r.NextDouble() * Math.PI), 0));
}

MarkerBatchPrimitive b = new MarkerBatchPrimitive();
b.Texture = SceneManager.Textures.FromUri("DataDownArrow32.png");
b.SetCartographic(positions);

SceneManager.Primitives.Add(b);
In this example, each marker in the batch is rendered using the same texture. The batch has other properties that are also applied to every marker. These include rotation, color, and pixel offset to name a few. For example, if the following line of code is used, every marker is rotated:
b.Rotation = Trig.DegreesToRadians(30);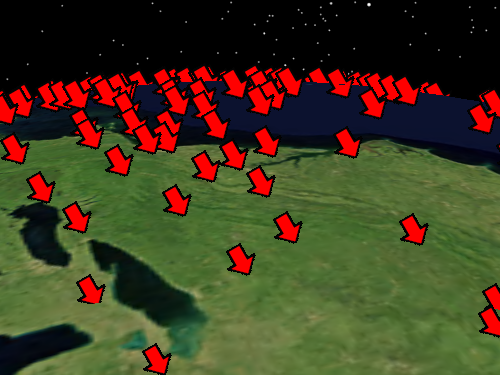
Per-batch properties, such as the texture and rotation used above, can instead be defined per-marker. So each marker could have a different rotation:
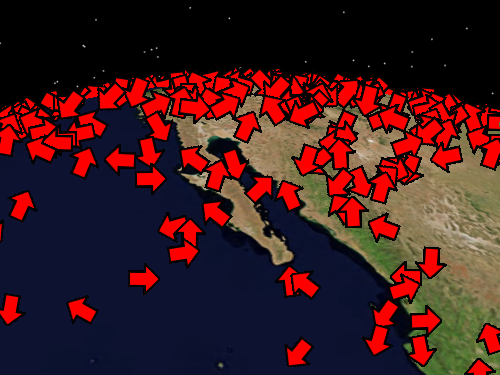
To define rotations per-marker, a collection of rotations that corresponds to the collection of positions is used:
int numberOfMarkers = 10000;
IList<Cartographic> positions = new List<Cartographic>(numberOfMarkers);
IList<double> rotationAngles = new List<double>(numberOfMarkers);
Random r = new Random();

for (int i = 0; i < numberOfMarkers; ++i)
{
    positions.Add(new Cartographic(
        -Math.PI + (r.NextDouble() * Constants.TwoPi),
        -Constants.HalfPi + (r.NextDouble() * Math.PI), 0));
    rotationAngles.Add(r.NextDouble() * Constants.TwoPi);
}

MarkerBatchPrimitiveOptionalParameters parameters =
    new MarkerBatchPrimitiveOptionalParameters();
parameters.SetRotations(rotationAngles);

MarkerBatchPrimitive b = new MarkerBatchPrimitive();
b.Texture = SceneManager.Textures.FromUri("DataDownArrow32.png");
b.SetCartographic(positions, parameters);

SceneManager.Primitives.Add(b);
Besides enabling a lot of flexibility, what is really cool about per-batch and per-marker properties is the primitive automatically optimizes for the mix of per-batch and per-marker properties you specify. The primitive generates source code for an optimized shader program, than runs on your video card, based on your specified properties. No extra memory is used nor is any extra computation performed for properties that you don't use! This is why you can crank numberOfMarkers up from 10,000 to 1,000,000 and still have interactive frame rates on decent video cards.
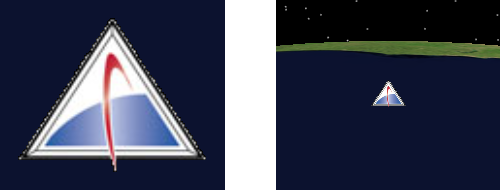
The other thing I really like about the marker batch is that the size of a marker can be defined in either pixels or meters. Traditionally, user's of AGI products and Virtual Globes are used to seeing markers sized in pixels. No matter how far away you are from the marker, it still takes up the same number of pixels on the screen, as shown below:
The marker batch has a property to define a marker's size in either pixels, the default, or meters. When the size is meters, the marker's size depends on the camera's location, similar to a 3D model, as shown below:
To make the size be in meters, use the SizeUnit property, which is easy enough:
MarkerBatchPrimitive b = new MarkerBatchPrimitive(
    MarkerBatchSizeSource.UserDefined);
b.Texture = SceneManager.Textures.FromUri("DataAGILogo.png");
b.Size = new SizeF(101000, 81000);
b.SizeUnit = MarkerBatchUnit.Meters;
b.SetCartographic(new Cartographic[] { Cartographic.Zero });

SceneManager.Primitives.Add(b);
Sizing markers in meters has several uses including a quick and dirty way to implement imposters to improve performance, and the image-based rendering effects like clouds that I mentioned earlier.
The marker batch primitive can do much more than what I described here. See the MarkerBatchPrimitive reference documentation for more information.